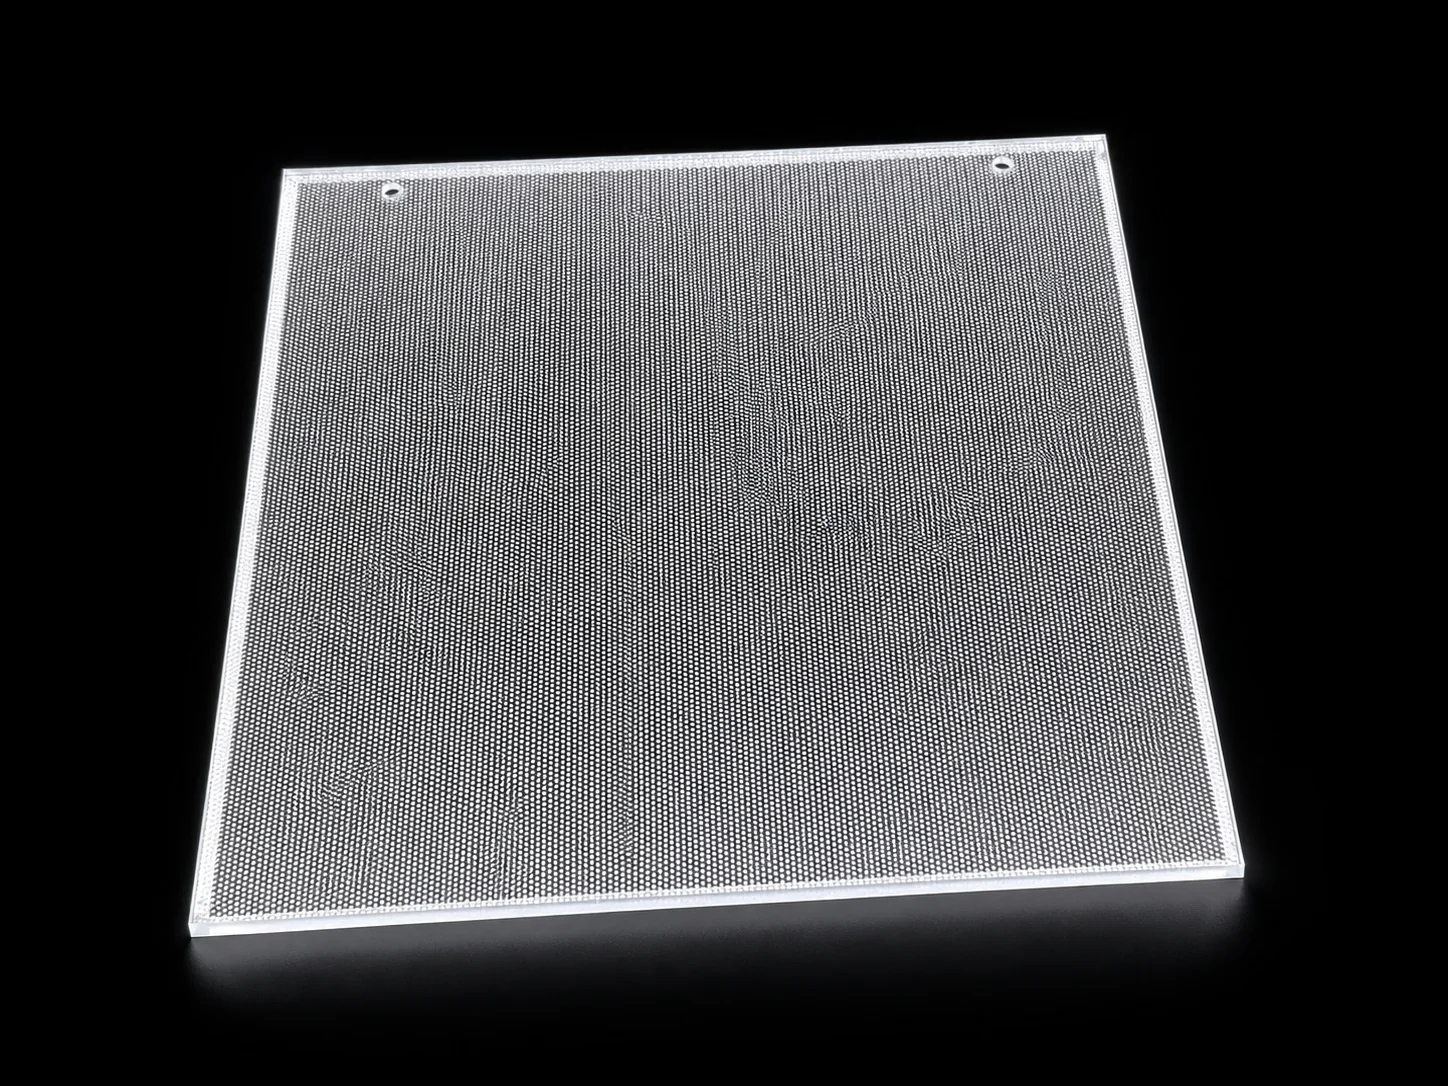
Laser-dot pattern
Digitally varied dot density for custom outlines, prototypes, and flexible production runs.
Buyer Resource / Design Guide
A practical checklist for selecting panel format, optical process, light entry, electrical configuration, installation detail, and the drawings needed for an accurate quotation.
Start with the application
The useful starting point is the illuminated area, viewing distance, mounting space, desired surface finish, operating environment, and target light effect. These decisions determine the PMMA format, optical pattern, LED entry, diffusion stack, wiring, and support method.
Share a drawing whenever possible. A dimensioned PDF, DWG, DXF, STEP, or IGES file reduces assumptions and makes sampling more representative of the production assembly.

Light Entry
One-side, two-side, three-side, or four-side entry can be used. The final choice follows optical review; larger spans and square formats commonly need additional entry sides to maintain uniformity.

LED pitch, power, guide pattern, diffusion, and thermal conditions are evaluated together.
Optical Method
Digitally varied dot density for custom outlines, prototypes, and flexible production runs.
Precision line processing for thin panels and large luminous surfaces within reviewed capacity.
Repeatable printed optical patterns for approved sizes and production quantities.
Uniformity, visible finish, tooling, quantity, and budget are considered before the process is confirmed.
Compare optical pattern methods →
Still comparing suppliers? Use the LGP Manufacturer Buyer Guide to review engineering, sampling, quality, and export-supply capability.
Design FAQ
A dimensioned PDF is useful for review. DWG, DXF, STEP, or IGES files are preferred when the outline, holes, edge details, or mounting features must be manufactured accurately.
Thickness is selected with the panel span, structural support, light travel, machining detail, weight, and installation depth. FH Lighting reviews 3-10 mm PMMA options against the project drawing.
Yes. One-, two-, three-, or four-side entry can be configured. The selection depends on dimensions, shape, optical pattern, brightness target, and where edges may remain visible.
Both can be considered. The electrical configuration is matched to panel size, LED type, cable length, control method, driver location, and the customer's system requirements.
Sample production normally takes 7-15 production days after drawings and specifications are confirmed. Freight and transit time are separate.
Check illuminated dimensions, uniformity, color, edge appearance, cable exit, mounting detail, surface finish, electrical control, and how the panel fits the final assembly.
Project Review
FH Lighting will review the optical structure, LED entry, electrical configuration, finish, and sampling approach for your application.
Request a Project Quote